Monday, April 11, 2011

Weekend Waste

Well, try as I may have done, a lovely new bookcase is NOT what you are seeing this morning.  But there is a reason why.  We had an ultimate project FAIL this weekend.  It's not something that anyone ever wants to have happen, but it does happen.  Read about our intention HERE.


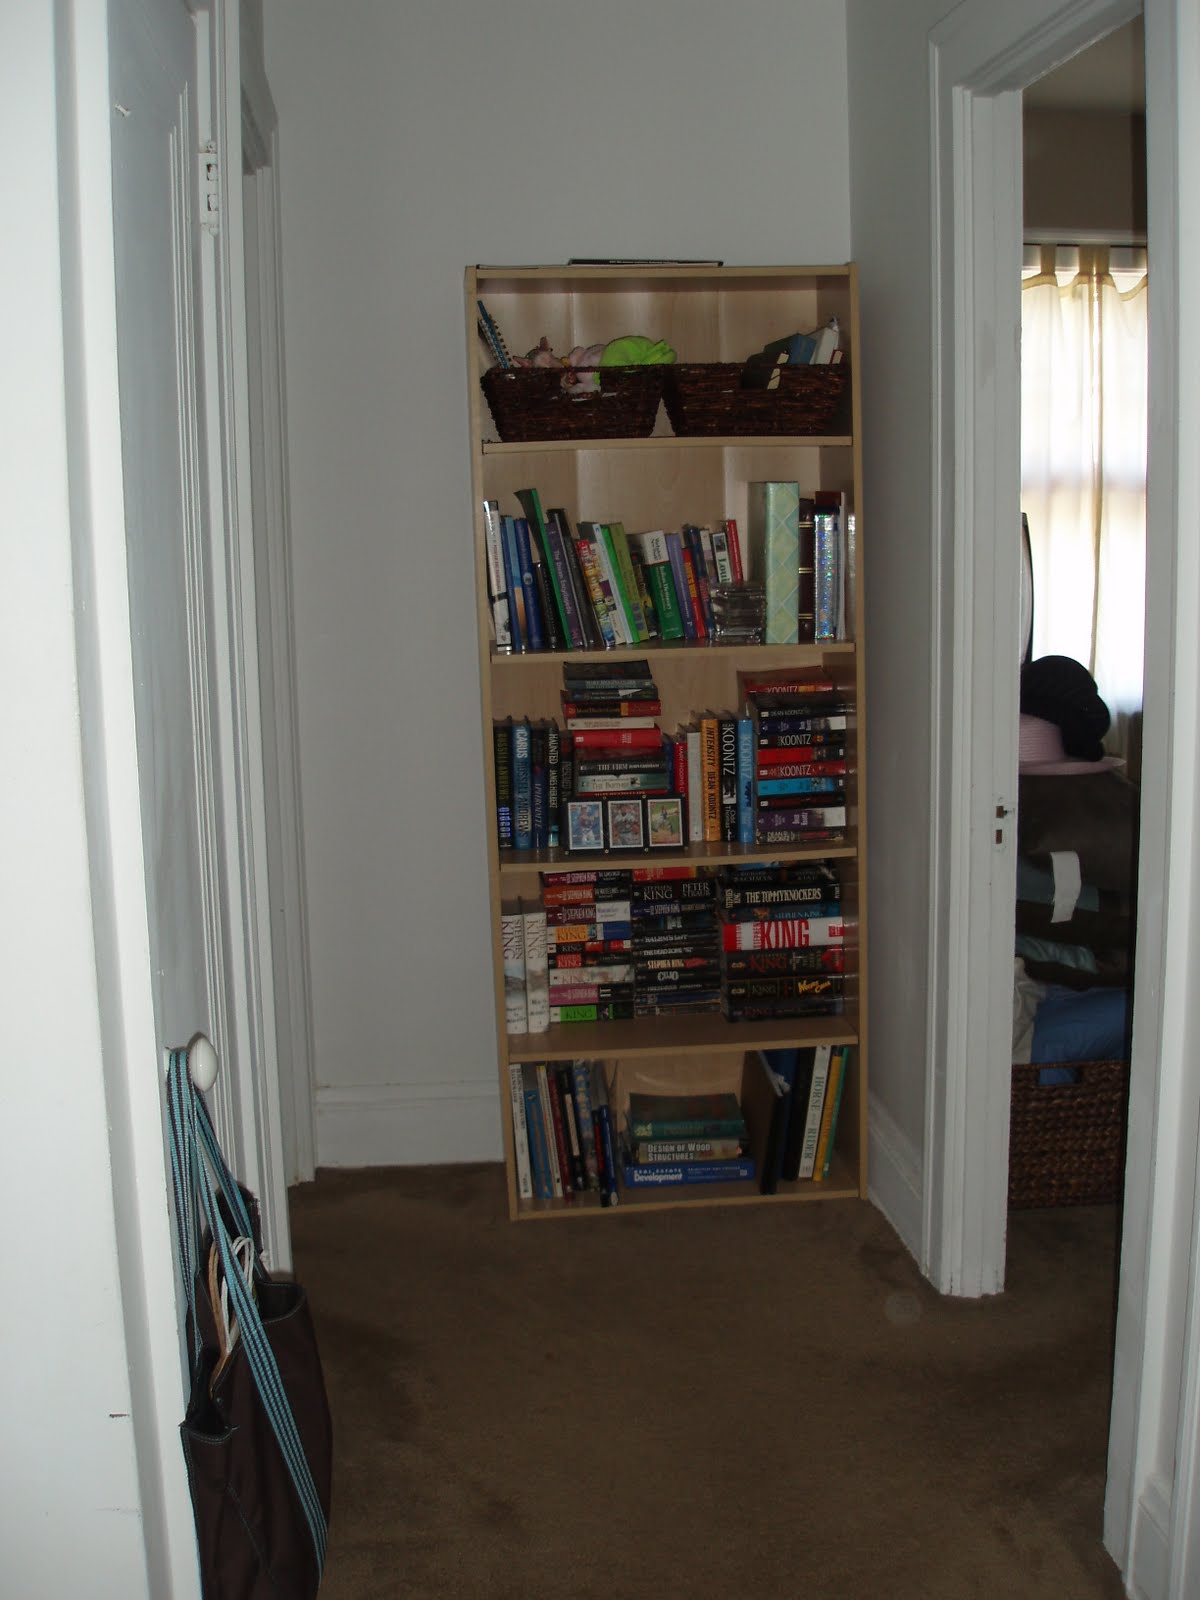
This is the bookcase as it stood first thing Saturday Morning:


I was so excited to get this done that I was determined to squeeze it in during our super busy weekend.  First thing Saturday morning, before going to visit my dad, I unloaded the bookcase into the spare bedroom.  As you can see the Dean Koontz pile is rivaled (and dominated) only by the Stephen King pile.... 


Anyways, I took off the shelves, dusted them, brought the bookcase downstairs and put it in the garage.  My intention was to paint the bookcase, so I would have to go to Home Depot later to pick up paint.  So we left for my dad's.  In the afternoon, I had enough time to realize that the paint was not going to stick well to the melamine surface & that I should not attempt to paint it.  Because we would be putting heavy books on it, the paint would stick to the books & peel right off later.  So the goal was still to take the back faux-wood panel off, get some baskets and update the look of this shelving unit.


Sunday morning was incredibly busy, so when I got home Sunday afternoon, I immediately changed and went to the garage to tackle the bookcase.  Three-quarters of the way through the panel removal, the bookcase began to sway.  You have to be kidding me, this cardboard panel was actually giving this bookcase stability!  It was necessary.


Well I had torn the backing a little bit taking it off the bookcase, so I didn't want to have to put it back on.  I didn't want to add screws in the side, ruining the unit, so I thought, WAIT!  We can run out and buy a 1/4" thick finish piece of birch.  We can put it on the bottom half of the unit, where there is a fixed shelf, screw it in, and fix the stability problem.


Off to the Depot we went.  Unfortunately, there was no finished birch panel.  The only thing that they had in 1/4" was Luan,  which was red & didn't match.  So we would have to buy an $11 panel of luan & cut it, we'd have to buy a $11 can of paint, and what color to you paint this if you aren't painting the unit???  We would have to buy screws.... so here we would be spending $30 to fix a 10 year old $35 bookshelf.  It wasn't worth it.


So we went home, Matt and I reattached the faux-wood panel, I tried to glue the tear, knowing that books would be in front of it.  We took it back upstairs, reassembled it, added two new baskets that I had found for $8.50 a piece, put the books back on the shelf and called it a day...


What a waste.  Hours of work to unpack, dust, disassemble, reassemble & repack and the only thing that got done, was that the dust that had accumulated behind the unit was removed.  I suppose our allergies are happy.


While next weekend is a busy one, I hope and hope that we can actually get something accomplished.  Perhaps the trim and the walls, perhaps even getting a Kreg Jig & finishing our end table!!!


Have a great week everyone!

Friday, April 8, 2011

CasaSugar's Weekend DIY

It's Friday again, which means only one thing... time for Casa's wonderful weekend DIY.  I still have a list of projects that I want to try, so lets see if there are anymore to add to my list.

Photo Credit: Here

1. Glittery Easter Eggs
2. Plastic Flower Votive (photo above)
3. DIY Bunting
4. Photo Wall Collage (different than my post, but interesting!)
5. Paper Fruit Bowl

Check out Casa's site & all the project links here:  CasaSugar's Weekend DIY

Weekend Projects

I am itching SO badly to pull up our carpeting.  Everywhere I have looked (or taken a quick peek in a corner) on the upper floor of our home, the floor looks like it's in decent condition.  And I have to tell you, I'd rather have decent condition hard wood floors than gross old carpeting!


Our next few weekends are crazy busy, and it's probably not a good time to start the BIG bathroom renovation, as we really need one weekend, without interruption to get a good portion of it completed.  But there are a few things around the house that I could get to this weekend, and with it slated to be a bit warmer, painting is not out of the question.


Our stairwell & upper hallway has been bright white primer since we moved in - and I can't wait to get rid of it.  The trim will stay white, but the walls are going to be almost a wheat color.  It will be two shades darker than our bathroom upstairs, but will tie in beautifully with the green & yellow palette of the downstairs colors.


With this project, could come another couple projects. 


1.  Rip up the carpet in the hallway up stairs.   This is sort of a joke, as the hallway is barely 10' long, but it is a start, and might quench some of my "I need this carpet to be gone" feeling.  I don't want to take the carpet up on the stairs, as the condition of stairs can be questionable, also I feel like wood stairs are a slipping hazard, so until we could do a cool runner with new carpet, that carpet will probably stay on the stairs...

2.  Paint the hallway (as mentioned above) & start our photo wall.  As I mentioned in a post here we would really like to put up a cool display wall in our stairwell.  A quick paint job would give it a much more interesting backdrop to start with.  A black and white display on the wheat colored wall would look striking.

3.  The bookshelf...  At the dead end of our hallway, we have a bookshelf.  It's an old target, maple color bookshelf with a "faux" back (one of those cardboard panels that is made to look like wood).  I would like to pull off that panel to allow you to see through to the wall, and paint that bookshelf something.  Maybe it's just white, maybe it's dark brown....  I also think that I might put it at a bit of an angle to give a new look to the hallway.  Basically, it's another warm weather project, that could take place over a series of days & that could really change up the look of the hall.  I would probably just use primer and spray paint on this unit, as it's just another melamine covered piece of furniture.  Notice from the sketch that there is not a lot of room to hang artwork in the hallway, so we needed something of interest here & we needed somewhere to put our bookshelf. 

The bookshelf is something I could easily do.  Maybe I could just paint the trim in the hallway, to brighten that up a bit & do the wall painting next weekend.  This will give me a little more time to look for & put together some type of photo gallery plan on the wall.  Here's hoping that the weather stays warm & projects can get started again.

Soon I'll be taking on the front porch, so watch for that.  The balustrade needs to be scraped, sanded and painted & I'd like to put a waterproof stain/paint on the floor to freshen up the look & protect the wood for a little longer.  This will happen as soon as I can be sure that it won't go below 40 degrees at night!

Happy Friday everyone!

Wednesday, April 6, 2011

Inspiration: Citron & Grey

My new found love for the color citron has started to take over.  We have a wonderfully fluffy grey blanket that will ward off the cold on even the chilliest of nights.  This blanket lives on our couch, as do our new citron pillows (which you can find the how to HERE).  The more that I look at the pairing, the more I love it.  White, Citron & Grey.  It's bright, it's fresh, it's sophisticated & it has been begging me to put together a bit of an inspiration board.  The question was, what room should I do.  I think it would be great in a crisp bedroom, and would be perfect for a living room, but I wanted to try to do something challenging & make it perfect for your dining room.


For someone who might not be too daring with color on the walls, or in your furnishings, the dining room is the PERFECT place to try out this color.  Now I know that I have a fascination with Grey, and have even done a grey, yellow and purple combo, but I feel compelled to get the images in my head out there for all to see.  Forget Honeysuckle, Citron is the color of 2011 for me!


Start with light grey walls.  I would stay in the cool palette, but this paring could work with a subtle beige as well.  Crisp white trim & beautiful citron curtains like these (and totally love this lamp too by the way!):


Photo: House Beautiful
Any color wood will work with this palette.  I tend to like dark woods & think that the bright yellow will wake them up, so that's what I am using for this inspiration board, but feel free to experiment with all colors of hard wood.

Kenroy Home Celestial Table Lamp - Amazon, Steel Circles Metal Wall Art - Bed Bath & Beyond,
Hive Vase - West Elm, Firepot Tealight Holders - CB2, Dimpled Drinkware - West Elm,
Modloft Greenwich Sidboard - Amazon, Uptown Parsons Dining Chairs - Target, Verona Table - Target,
Code Rug - CB2

It is easy to envision this board with a slighting lighter, almost chartreuse yellow/green as well.  The images I found were not quite as bright as I would have hoped for, but you get the picture.  The grey and yellow are extremely complementary & would go well with crisp white furniture, contemporary metal furnishings or traditional dark woods.

The use of bright table runners, metal centerpieces filled with lemons or even great bright art work on the wall can make this dining room yours.  And the base is all grey and white, so easy to change the scheme if you care too.

Check out the Citron & Turquoise Theme HERE, as it is similar with one more bold color to compliment it!

Happy Decorating!

Tuesday, April 5, 2011

Wall Collage - Artwork

Something very popular in the decorating world right now is the wall collage.  An area of wall, where instead of hanging just one item & focusing on that, you hang several items, that together become one functioning piece of art.


Some are very neat & organized:
Photo Credit: Link
And some are a little less so:

Photo Credit: Link
Some don't even use art, they just use the frames or even mirrors!

Photo Credit: Link

All VERY creative and very beautiful.  If this is your style, it's easy to do & it can be really lovely.  It allows you to hang up all the pictures that you never get to see as well as display other items.  As I am a huge fan of hanging things on the wall, and freeing up space on floors, counters, tables, etc., this is a great place to add some of those items.  If you are an artist yourself, have a bunch of cool sketches, frame them, add them into the mix.  It's about displaying who you are on your wall.

There seem to be two schools of thought on how to really do this.  One is to go monochromatic:  All of the frames are the same color, similar matting, possibly even all black and white photos/ images.  The other is to go quite the opposite.  Mix and match colors, frames, patterns, etc. 


There are two places in our home where I am considering doing something like this.  And being that I tend to enjoy the more organized approach, I will probably go with that - similar spacing between items, lines carried through, all the goodies.  However I tend to enjoy the eclectic mix of colors and patterns.  Maybe all the frames are browns & creams - but they don't all have to be the same.  It gives wiggle room!


Area One:  Over the couch.
Our sofa in the living room is in front of the window.  There is no other place for it to go!  So there will be no wonderful piece of artwork over the sofa, however, there is a portion of wall over the end of the sofa that isn't asking for one big piece of off-centered art, it's asking for something unique.  I think this is one area where we have an opportunity to experiment.


I think that this wants to have one large piece to anchor it in place, but have several different pieces that make up the "whole".  What that is exactly, I'm not sure, but I think it could be something like this.  Possibly a large print - maybe with a letter, or something graphic.  Next to it perhaps a few photos, or wall tiles, or anything really.  Full of ideas, but nothing concrete yet.

Area Two:  The staircase
Our stairwell tends to be a bit dark and boring.  I think that this might be the perfect area to add a little something and fill the empty wall with some really great art.  A lot of people tend to focus their art over the handrail, so people can view it as they walk up the stairs, however, I like having a display that can be viewed while you are on the first floor or on the stairs.

My husband purchased a set of prints for me that are on canvas and that show a great scene from Italy.  We have no really good place to put them, so I thought that this might be perfect.  Put them in a shadow box, and use it as the anchor piece in the middle.  The prints are black and white, so lets go with that.  Black and white frames, tiles, items, etc.  I don't know that we have 12-15 photos that we want to display right now, but as we grow as a family, we might!  We can put prints, sketches, even patterned paper in a few of the frames for now, and the wall will grow, right along with our family.

The wall behind will be a dark sand color with white trim.  And if we ever get to rip up the carpeting, there are lovely hardwood floors that will really make this area cozy.

So, we don't really have a plan, but we have an idea.  This is something that will probably get pushed back into fall and winter, as the ability to get outdoor work & painting wanes with the weather.  But I think that I love these displays.  And if the interest goes away, it's nothing that some spackle and a coat of paint can't entirely erase.

What do you think of these "art walls"?  Are you a fan?

Friday, April 1, 2011

CasaSugar's Weekend DIY

Yay for Friday!  And double yay for a sunny Friday afternoon.

If you are looking for a project or two to accomplish on this upcoming weekend, here are a few creative ones from the folks at Casa Sugar!

Photo Credit: Link
 1. Update Old Brass Furniture
2. Hand printed Pillows
3. Organize your junk drawer
4. Tufted Ottoman DIY (photo above)
5. Freesia in a Bottle
6. Oilcloth Storage Bin
7. Switch Plate Planter (totally cool)
8. Flower Pillow (I love this pillow and will be making it for our bedroom!)
9. Lampshade Re-upholstery

Click the following link to bring you to their page for all the details!  Casa's Weekend DIY

Inspiration: White Bedroom with a Pop

Generally I am not a fan of all white interiors.  I tend to think of it as a stain-fearer's worst nightmare, but I was inspired recently by a photo that I saw of a bright white bedroom with a pop of bright green that made me desire to be in that room immediately.  It was beautiful.  So I thought that I might try to recreate that vision for everyone here, so they can understand why I am now in love with this bedroom.

Bedding: Peninsula White Cotton (Crate&Barrel), Pillow: Hand Blocked Jaali (West Elm),
Mirrors: Malachy & Brighton Floor Mirror (Crate&Barrel), Lamp: Sphere Table Lamp (West Elm),
Chairs: Upholstered Slipper Chair (West Elm), Green Table:  Martini Table (West Elm),
Plant:  Onion Grass Sedum (Target), Mirrored Table: Parsons Mirrored End Table (West Elm),
Vases:  Cabo & Chica Green Vases (Crate&Barrel)
Imagine soft white walls and and trim, a white dresser and bright green curtains from a brushed silver curtain rod.  A white and green rug & dark hard woods make this room cozy, bright & fresh.  Prop the white mirror up against a white wall with a large plant next to it. 

I think that in this scenario, a white room is amazing, and hopefully you can see why!