Hello Everyone. It's been a while since I have checked in. We have been going through some financial issues lately, which unfortunately has made me shy away from the blog. We have windows to fix, teeth to fix, house parts to fix & a new semester of college for my husband - which now that we are married, he gets FAR less financial assistance.
So we have been living pretty tight lately, forcing me to put a lot of projects on the shelf. I haven't wanted to spend the money. So what I wanted to do last night was to sit down, and put together a list of things to do to the house. Because I am the queen of lists, it helped me to organize my thoughts, and also to start having something to "check" things off of. While the list is overwhelming, there are certain things that we can start doing to check off the list, that have little or no cost associated with them.
So I decided that I wanted to take the list public - make myself start accomplishing things, so that our house can get "done", so that we have something to enjoy for the next few years, while we start to squirrel away pennies to save for our dream house.
I also want to start getting into showing everyone how we are doing things on a budget, how we are saving money, so that all those other people out there, who are struggling to make ends meet, can see that there is a way to achieve your goals without spending a lot of money.
But now we must get on to the good stuff...
THE LIST
The Living Room

1. Pull up the carpet
2. Refinish the floors (if required)
3. Make sliding "c" end tables
4. Hang artwork/photos
5. New Lamps
6. Refinish end tables
7. Rug(s)
8. Reorganize shelves on either side of fireplace
9. Silicone/caulk joint between baseboard & floor, once exposed
10. Acquire bookcase with glass doors to store movies
11. Clean out fireplace
12. Make Birch candles for fireplace (as seen HERE)
13. Find better location for Game Board & organize coffee table
14. Build second shelf in coat closet (above existing shelf)
15. Organize coat closet - making room for vacuums & shoes!
16. Purge old coats
17. Buy new large plant for room
The Dining Room

1. Pull up carpet
2. Refinish floors (if required)
3. Fix broken sash cord in window
4. Repaint trim after window repair
5. Silicone/caulk joint at baseboard & floor, once exposed.
6. Make new burlap table runner
The Kitchen

1. New Flooring - Rubberized Vinyl Sheet Flooring (with stamped tile pattern)
2. New Countertops (decide material)
3. Matching Pulls/Knobs for all cabinet doors
4. New Dishwasher
5. New Fridge (it will die in the not too distant future - better put it on the list!)
6. Smaller Microwave, maybe even one that can be mounted over the stove to give more counter space
7. Bench for mudroom
8. Window treatment for back door
9. Paint back door
The Half Bath

1. New shoe mold @ tile
2. Fix broken tiles (we are having an issue where the floor is moving a bit too much. It cracked two of our tiles under the toilet. We aren't going to fix it now, because it isn't obvious, but we will have to fix it eventually)
3. Finish attaching sink to wall with longer screw & silicone around edge of sink bowl.
4. Artwork & Baskets to finish decorating
The Third Bedroom
(I don't have an image for this room, but will edit it soon with a picture. This room is now our closet, but will eventually be a nursery, when we decide to have kids)
1. Pull up carpet
2. Refinish floors (as required)
3. Rug
4. Paint walls & trim
5. Silicone/caulk joint at baseboards & floor
6. Remove closet door & build two shelves above rod (the closet door is right behind the entry door - too many doors in such a little space)
7. Make curtains for 2 windows & closet door
8. New Furniture
9. Fix Broken window & dropped sash
Guest Bedroom
(Again, no photo here, and not a lot of work to do)
1. Pull up carpet
2. Refinish floors (as required)
3. Rug
4. Paint walls & trim
5. Silicone/caulk joint at baseboards & floor
6. New curtains for two windows
Master Bedroom

(Not a great picture, but it gives you an idea. Ignore the sheets - we need new sheets, in fact, lets make that number 1, shall we?)
1. New Sheets!
2. Pull up carpet
3. Refinish floors (as required)
4. Rugs - including maybe making a couple of t-shirt rugs (example HERE)!
5. Silicone/caulk joint at baseboard & floor
6. New Wardrobe, like the one seen HERE at IKEA
7. New bench @ window
8. Finish building nightstand, paint
9. Decorate nightstands
10. Enlarge existing closet opening & case opening
11. Make new curtains for 2 windows & closet (closet curtains are temporary)
12. New bi-fold closet doors
13. Fix broken window & dropped sash
Hallway
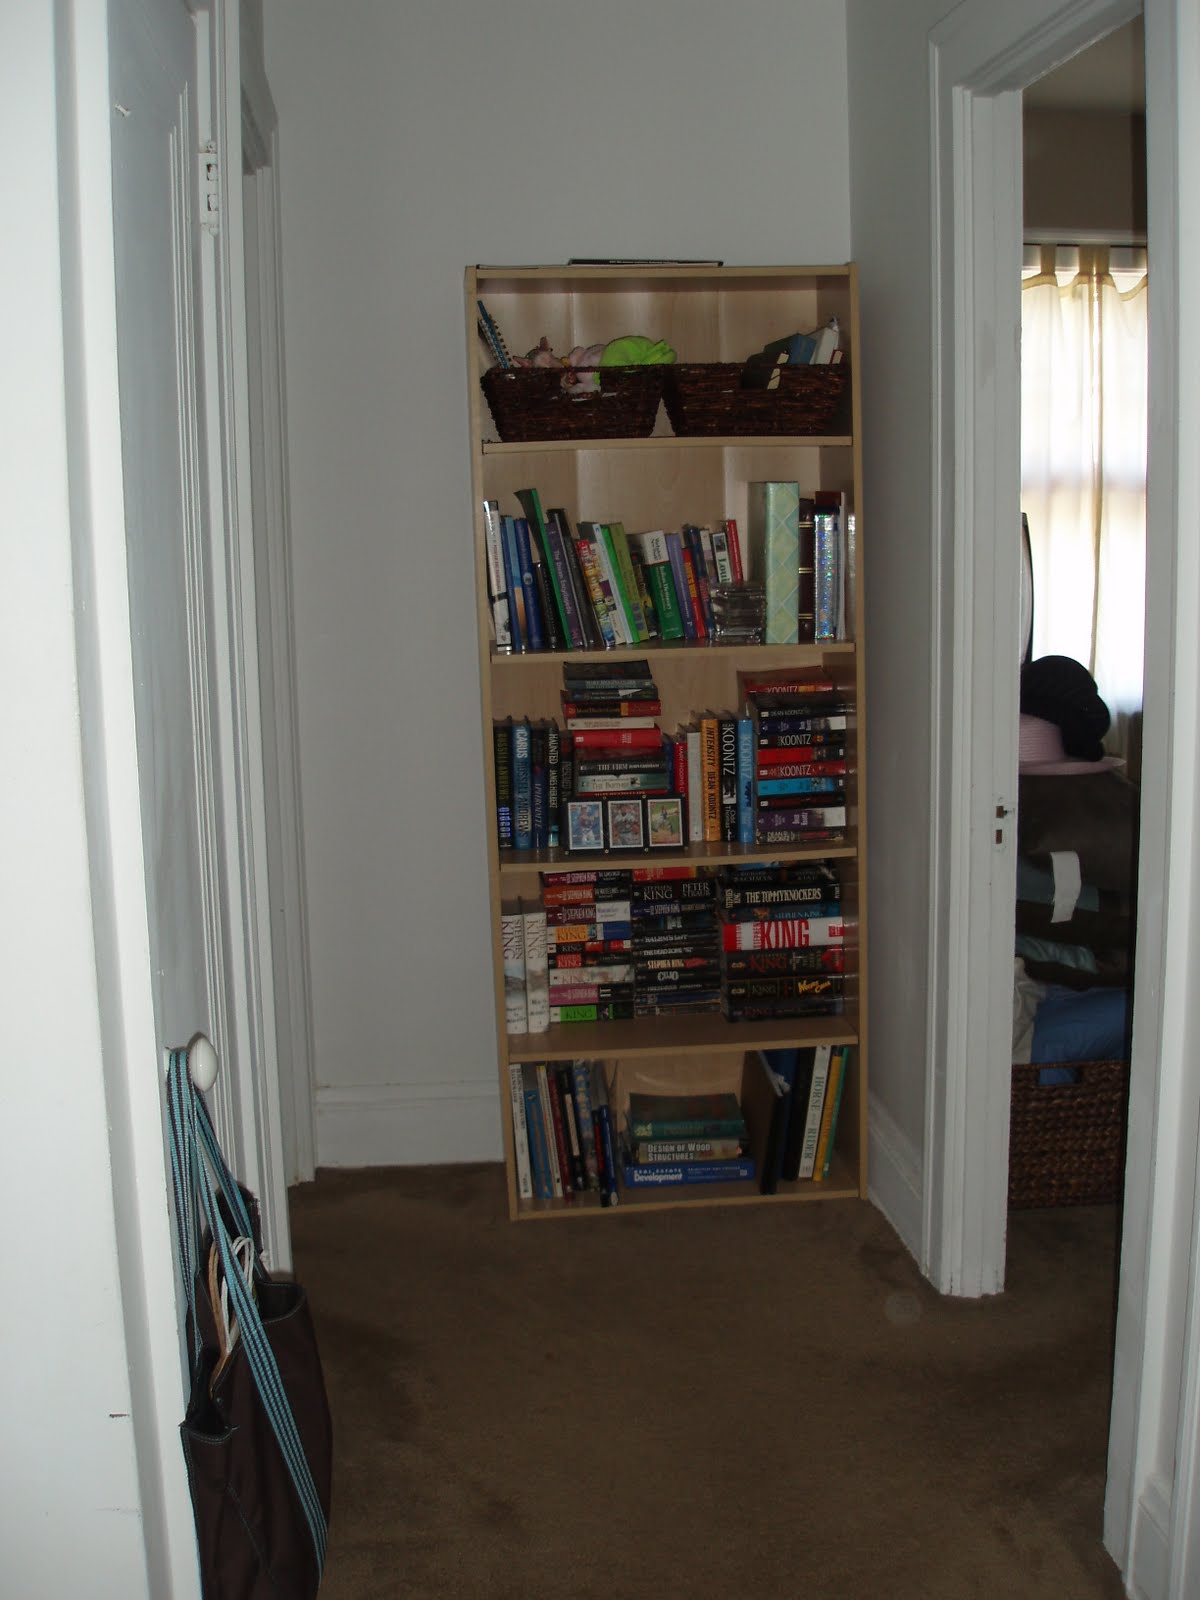
1. Pull up carpet
2. Refinish floors (as required)
3. Rug
4. Paint walls & trim
5. Silicone/caulk joint at baseboards & floor
6. New bookshelf
7. Photo Wall
Outside

1. Paint railings at front porch
2. Paint porch floor
3. Replace any warped porch pieces (all three porches)
4. Repair damaged siding on garage
5. Paint garage
6. Finish cleaning up the planting beds & move plants around
7. Patch issue in roof over mudroom
8. Table for front porch & back patio
This is the bulk of the work that we'd like to do. Eventually, we'd like to put baseboard heaters in the finished attic space, so that it can technically be called a bedroom. We also have some cleaning and organizing to do in the basement. But that is our list. Daunting, no?
The goal will be to start going room to room & crossing things off. Unfortunately because my mind is always working, a few things might get added too.
Hopefully we can get started on some of the easier ones first. Like pulling up the carpet in the bedrooms - where the floor doesn't have to look perfect right away. I would really like to get started in our bedroom, since there is quite a bit of work to do there. We'll see what happens next!


